Introduction
Hey there, small business owners and branding fans! Want to make your products really stand out? A great way to do that is by putting your logo on plastic items. Whether you’re selling reusable water bottles, phone cases, or anything else plastic, adding your logo can make them pop and stick in people’s minds. But how do you do it? Don’t worry, this guide will help you figure out the basics of putting your logo on plastic products. We’ll go over different methods and help you pick the best one for your business. Let’s jump into this fun process of making your brand shine!
Understanding the Importance of Branding on Plastic Products
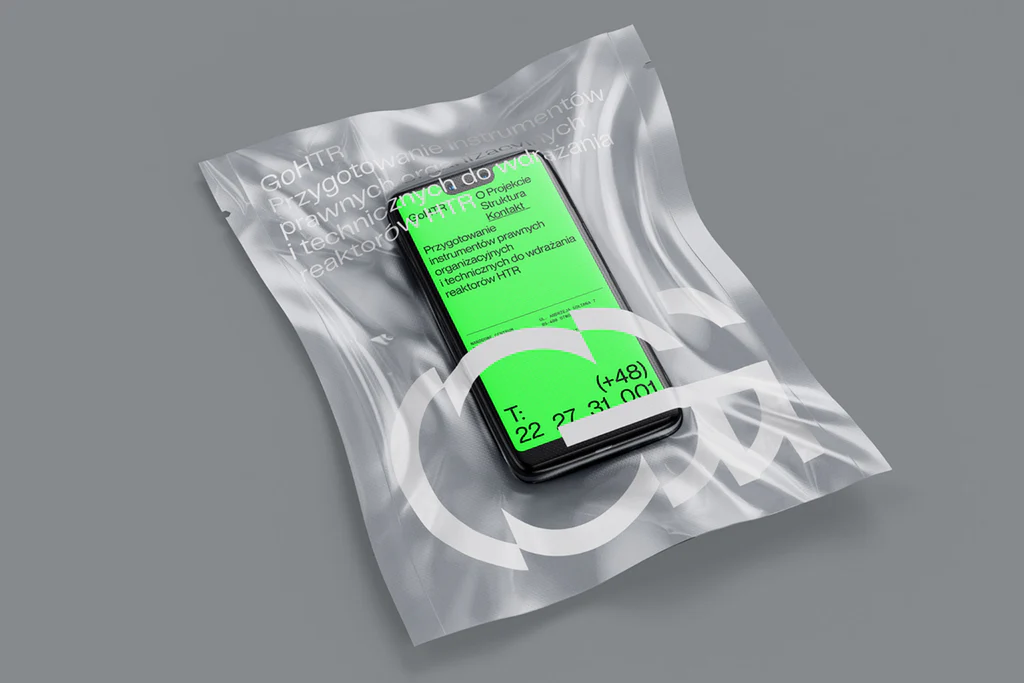
In this day and age, with so much competition out there, having a strong brand is super important. It’s even more crucial for small businesses, where standing out in a creative way can really have a big impact. One cool method is putting your logo on plastic items. Think about it – putting your brand on things like water bottles, phone cases, or reusable grocery bags can really help you connect with customers and build their loyalty to your brand.
How Logo Printing Enhances Brand Visibility
Think of slapping your logo on plastic goods as creating tiny, traveling billboards for your company. Every time customers use these branded gadgets, they’re unintentionally showcasing your brand to others, giving you some free, natural exposure. It’s a smart move to hike up brand recognition without shelling out beaucoup bucks for ads. Sticking your logo on everyday stuff not only gets your name out there but also weaves your brand into people’s daily lives, making it super recognizable.
When folks spot these items, they link them right back to your biz, so you’re more likely to pop into their heads first when they’re in the market for what you offer. Plus, a sharp-looking logos on a quality product? That screams that your brand’s all about top-notch quality. Basically, when you print logos on plastic goods the right way, you turn each user into a walking, talking ad for your brand.
Benefits of Branding with Plastic Products
Using plastic products for branding offers a bunch of advantages. To start with, plastic is both tough and adaptable. It can take a lot of use and is light, making it perfect for all sorts of items, from pens and mugs to keychains and even bigger things like storage containers.
– Affordability: When you stack it up against other materials, plastic is pretty cheap. This means you can get a ton of branded gear without spending a fortune. This is especially helpful for small businesses that need to watch their pennies.
– Green Choices: As more and more people care about the planet, lots of suppliers now sell plastic that can be recycled or breaks down naturally. So, you can still use plastic for branding while keeping your promise to be kind to the environment.
– Creative Freedom: Plastic products come in every shape and size you can think of, giving you plenty of room to be creative. You’ve got tons of colors, finishes, and textures to pick from, so you can make designs that really stand out.
– Consumer Appeal: Because plastic is such a familiar material, people tend to use and hold onto plastic items more, which means they’ll keep your brand in mind for a longer time.
These advantages, when put together, make plastic products a handy instrument in your branding strategy, giving you a strong way to get your business out there and get folks to really connect with your brand.
Overview of Logo Printing Techniques for Plastic Products
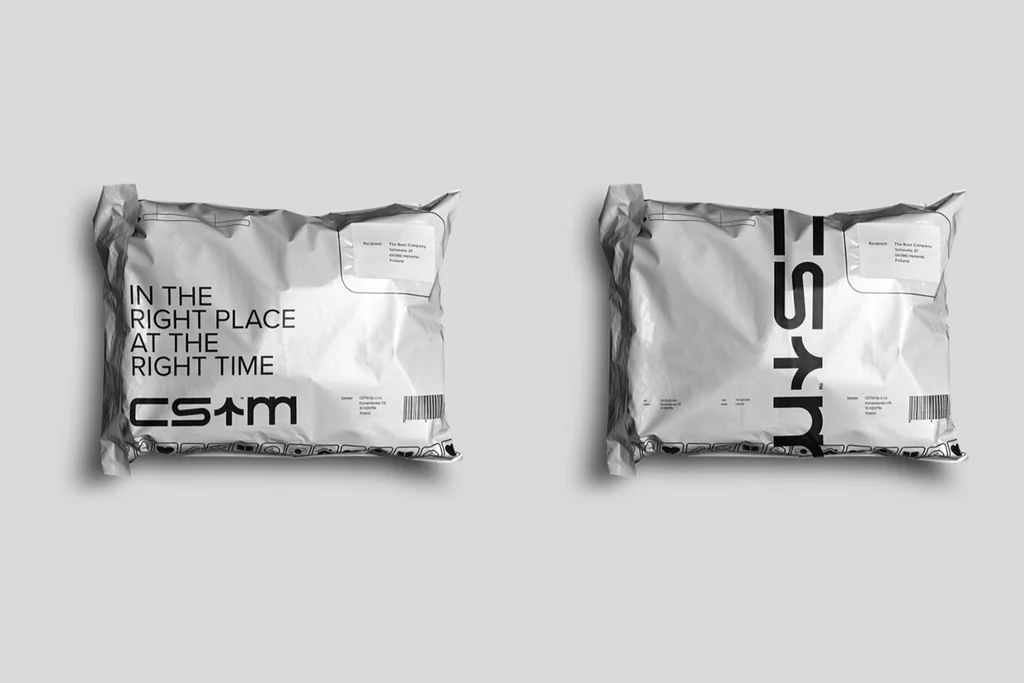
Choosing the best printing method is really important if you want great-looking customized plastic items. There are quite a few options out there, and each one has its own strengths based on the product, how you want it to look, and how many you’re making. Let’s take a look at some of the most common methods.
Screen Printing
Screen printing is a classic and popular way to print designs onto plastic items. It works by making a stencil, or “screen,” and then using that to press ink onto the product’s surface. This method is especially known for being budget-friendly when you’re making lots of copies, and it’s great at producing bright, solid colors.
Here’s why it’s a good choice:
– Tough and Long-Lasting Prints: The ink used in this method soaks into the material instead of just sitting on top. This makes the print really durable and less likely to fade, even if the item is used a lot.
– Great Value for Big Batches: While there’s an upfront cost to set up the screens, that cost gets spread out over a large number of items, making it a smart and economical pick for mass production.
– Super Versatile: This printing method works well on all sorts of shapes and textures, which makes it a great option for printing on a wide range of plastic products.
However, it’s important to note that screen printing can be less effective for small batch orders or designs that require intricate details, as each color is applied separately, increasing both time and complexity.
Pad Printing
Pad printing is a technique that utilizes indirect offset (gravure) printing technology. It’s especially good at printing on complex surfaces such as concave, convex, or cylindrical shapes. This adaptability makes it perfect for printing on items like pens, bottle caps, and intricate toys.
Pros:
– Excellent for Complex Designs: Pad printing is great at reproducing fine lines and detailed designs, making it ideal for logos with lots of specifics.
– Works Well on Various Surfaces: It’s effective on uneven or oddly shaped objects, where other methods might have a hard time.
– Produces Clear and Accurate Images: The accuracy you get with pad printing means your logo will look sharp and easy to read, even on tiny items.
However, even though pad printing is skilled in these areas, it might not be the best choice for large areas or products needing multi-color prints. This is because the cost can go up significantly as the complexity increases.
Digital Printing
Digital printing’s popularity has soared because it’s so versatile and can create incredibly detailed designs. It’s like using a fancy version of your home printer; digital printing puts designs right onto products using digital methods. It’s perfect for businesses that need small quantities of items made quickly.
Here’s why it’s so great:
– Amazing Quality and Detail: Digital printing can make super sharp, life-like images with tons of detail, making even the most complicated designs look amazing.
– Order Just What You Need: It’s perfect for small businesses that only need a few items at a time, since you can order different amounts without breaking the bank.
– Super Fast Service: Because you don’t need screens or plates made, your order can be processed and delivered in no time.
On the less positive side, digital printing doesn’t always work well on rough or uneven surfaces. This can restrict its use, depending on the product’s shape and texture. Also, when producing large quantities, it might cost more per item than traditional methods.
To sum it all up, when you’re thinking about printing logos on plastic items, it’s really important to consider the pros and cons of each printing method. Deciding between screen printing, pad printing, and digital printing depends on several things, such as the type of product, how detailed the logo or design is, and how many items you need. In the end, the method you choose should match your brand goals and budget. By picking the right technique, you can make sure your logo not only looks great but also helps strengthen and improve your brand identity.
Choosing the Right Printing Method for Your Small Business
Choosing the best way to print logos on plastic items is really important if you want them to look great without spending too much. There are quite a few options out there, and they all have their own pros and cons. Let’s go through some things to think about that’ll help your small business figure out which method is the best fit.
Factors to Consider When Selecting a Technique
1. Material Compatibility: Think about it like this: different printing methods are like keys, and certain plastics are like locks. They need to match up. For instance, materials like polypropylene (PP), polyethylene (PE), and polyvinyl chloride (PVC) might need specific kinds of inks or different ways to dry. To get the best results, figure out exactly what type of plastic you’re dealing with, and make sure your printing method plays nice with it.
2. Durability: Consider how tough your product needs to be. If your logo will be out there facing the elements, like sun or rain, you want a printing method that can handle it. Choosing a method that’s UV-resistant and waterproof is a good call if your items will be spending time outside.
3. Detail and Resolution: If your logos are super detailed or has smooth transitions of color, you need a printing method that can capture all those nuances. Printing methods like digital or pad printing are like artists with fine brushes; they can create really sharp and intricate details.
4. Color Accuracy: It’s crucial to have colors that look realistic to keep your brand looking the same across all materials. Printing techniques like digital printing can match colors precisely, which is really important if your brand uses specific shades.
Cost-Effectiveness and Scalability
Running a small business means watching your budget closely, but thankfully some printing methods can save you money and grow with your needs.
– Screen Printing: This classic approach is great for big orders because the cost per item drops as quantity goes up. You’ll have to pay more upfront for the stencils, but it pays off when you’re printing a lot.
– Pad Printing: If you need to print on items with odd shapes, pad printing is a smart, budget-friendly choice for medium-sized runs. Since it’s quicker to set up than screen printing, it’s a nice balance of speed and affordability.
– Digital Printing: For ultimate flexibility, digital printing lets you print small quantities without breaking the bank on setup fees. It’s ideal if you want to try out new designs or make limited-edition products.
It’s also important to think about scaling up. As your orders get bigger, screen and pad printing become even more attractive because the cost per item decreases, helping you save more in the long run.
Customization Options
It’s not just nice to have customization these days; people practically expect it. Logos are getting fancier, and there’s a real hunger for personalized touches.
– Digital Printing: This is a game-changer for customization. You can easily print a whole bunch of different designs on each product without having to change anything in your setup.
– Hot Stamping: This one’s mostly used for logos and text, but it gives you that sleek, high-end look with metallic or holographic foils. It’s a great way to make your products feel extra special.
– Embossing/Debossing: These techniques let you add a touchy-feely aspect to your designs. You can make logos pop out (embossed) or create a indented effect (debossed) right on the plastic, making your product more engaging to use.
Step-by-Step Guide to Printing Logos on Plastic
With a solid understanding of the different printing methods and considerations, it’s time to dive into the actual process of printing on plastic. Here’s a step-by-step guide to get you started.
Preparing Your Design and Material
1. Getting Your Design Ready: First things first, check that your logo is in a high-resolution vector format; that way, you can scale it up or down without losing any quality. Formats like AI, EPS, and PDF are generally good choices.
2. Sorting Out Colors: Double-check the color codes in your design—especially if your brand has particular shades that need to be spot on. Let your printer know about these specifics, or make sure your own printing equipment is properly calibrated to get the colors just right.
3. Picking the Right Material: Select the plastic that fits your product’s needs best, and ensure it works well with your chosen printing method. If it helps, get some material samples and do a few test runs to make sure everything looks great.
4. Cleaning Up: Before you start printing, give the plastic surface a good clean to remove any dust or oil. Use a gentle detergent and a lint-free cloth for this—it’ll help the ink stick properly.
Setting Up the Printing Equipment
1. Calibrating Your Gear: No matter if you’re working with a screen, a pad, or a digital printer, getting your equipment dialed in is crucial. This means taking the time to align your print heads, stencils, or pads just right, so your design prints perfectly on the plastic item.
2. Mixing and Testing Your Inks: If your printing method calls for mixing your own ink, do some color tests first to make sure it’s a perfect match for your brand. Always do a small trial run before jumping into full-scale production.
3. Getting Your Stencils or Plates Ready: For methods like screen or pad printing, you’ll need to create stencils or plates. This involves designing your logo and then either burning it onto a stencil or etching it into a plate.
4. Controlling the Temperature and Environment: The temperature and humidity of your workspace can actually impact the printing process, depending on the technique. For example, hot stamping needs just the right amount of heat to make sure everything sticks properly.
Executing the Printing Process
1. Trial Prints: Before diving into the whole batch, try printing a few samples first. This way, you can catch and fix any problems with the alignment or colors without squandering materials.
2. Watch for Uniformity: Pay attention to how consistent the prints are turning out. Periodically examine the output to make sure there’s no smudging or fading happening as you go through the batch.
3. Streamline with Automation: Whenever you can, automate parts of the printing process to make it faster and cut down on mistakes. This works especially well with digital printing systems.
4. Quality Check and Final Steps: Once all the printing is done, give each item a thorough once-over to ensure top quality. Depending on the printing technique you’ve used, you might also need to do extra steps like curing or drying.
5. Packaging and Handling: After your plastic items are printed, it’s important to handle them gently so they don’t get damaged. Make sure you package them well, especially if they’re going to be shipped, to keep the printing in top condition.
By using this guide, your small business can make your plastic products look more professional with your logos. If you plan carefully, pay attention to the small stuff, and choose the best printing method, you’ll improve your marketing and stand out in the market. Remember that how good your printed logos look shows how much your brand cares about its customers. So, take the time and spend the money needed to do it well. Have fun printing!
Conclusion
Adding your logos to plastic items is a smart move for any small business looking to build its brand. Picking the best printing method is key to making sure your logo not only looks fantastic but also stays that way. You’ve got options like screen printing, pad printing, or digital printing, and each one has its own perks. Keep in mind things like how long it lasts, how good the colors look, and the price tag. Get it right, and your products will really pop, making a strong impression on your customers.
Frequently Asked Questions
How to print the brand name on plastic products?
Brand names are usually printed using pad printing or laser marking for precise, clean results. These methods ensure your logo stays sharp even on small or textured products.
What type of printer can print on plastic?
Various printers can print on plastic, including inkjet, laser, thermal transfer, and UV printers. However, the most commonly used is UV printers because it prints directly on rigid plastic. It also cures the ink instantly, making the print long-lasting.
Which printing method lasts the longest on plastic?
UV printing and hot stamping offer the most durable finish on plastic surfaces. They resist fading, peeling, and everyday wear.
Can I print on curved or oddly shaped plastic items?
Yes, pad printing is specifically designed for curved or uneven plastic surfaces. It uses a soft silicone pad that easily conforms to the shape.
Does printing on plastic fade over time?
It can fade if low-quality inks are used, but UV-cured or solvent-based inks last much longer. Adding a protective coating increases durability even more.
Is logo printing on plastic expensive?
It depends on the printing method, artwork complexity, and order quantity. Bulk orders often bring the price down, and simple one-color logos generally cost less than multi-color or high-detail prints.

